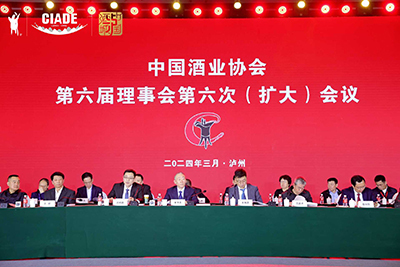
集團參加中國酒業(yè)協(xié)會(huì )第六屆理事會(huì )第六次(擴大)會(huì )議
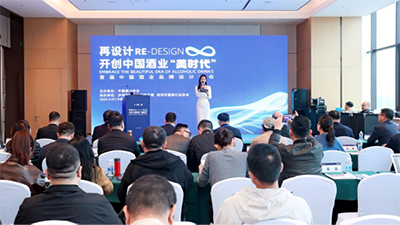
2024年3月21日���,第二十屆中國國際酒業(yè)博覽會(huì )在瀘州國際會(huì )展中心盛大開(kāi)幕�。本屆酒博會(huì )由中國酒業(yè)協(xié)會(huì )主辦��、中國輕工業(yè)聯(lián)合會(huì )重點(diǎn)支持���、瀘州市人民政府承辦��。
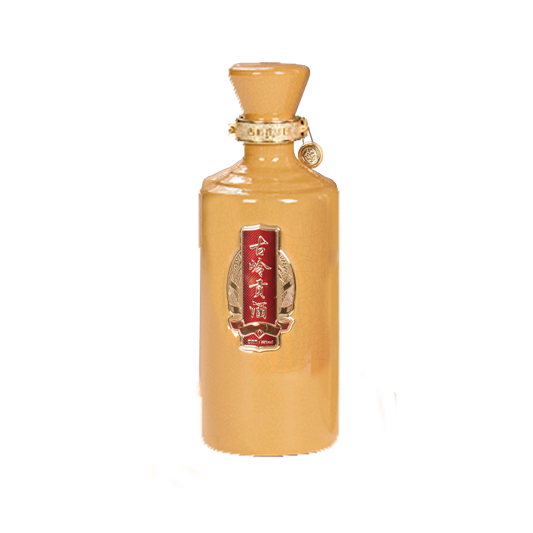
據悉�����,本屆博覽會(huì )延續“舉杯中國·品味世界”主題�,從3月21日持續到24日��,為期4天���。在此期間��,召開(kāi)了中國酒業(yè)協(xié)會(huì )第六屆理事會(huì )第六次(擴大)會(huì )議�,廣西古嶺龍集團作為理事單位應邀參會(huì )�����,古嶺酒廠(chǎng)/龍灣酒廠(chǎng)副廠(chǎng)長(cháng)李俊代表集團出席本次會(huì )議���。