Welcome to DIY Double Dip Flip! Heather and I are excited to share our third project in this series where we start with an inspiration piece from either fashion or decor, then we each show you our unique take on how to use the idea on something entirely different in decor or fashion. For this month’s inspiration, Heather chose an entire set with soft spring colors and lots of great texture.
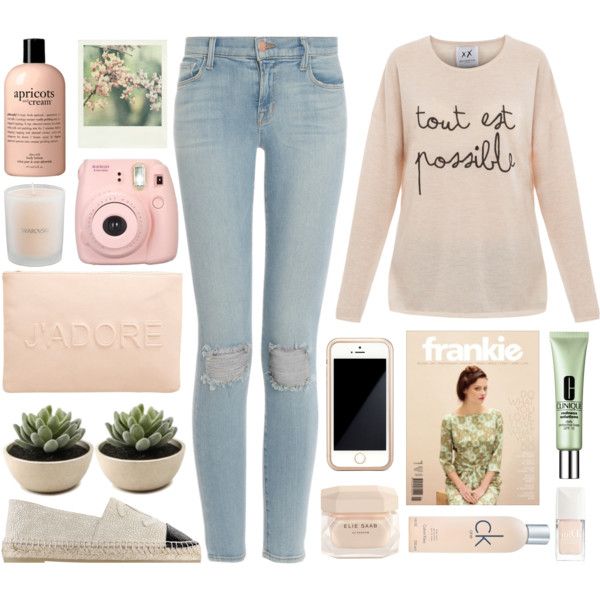
………………………………………………………………………A similar pullover C’est Si Bon
Being a lover of frayed edge denim, I was immediately drawn to the ripped knee patch jeans and decided to make that my jumping off point. I am in the middle of making changes in my breakfast nook and my chandelier needed a makeover.
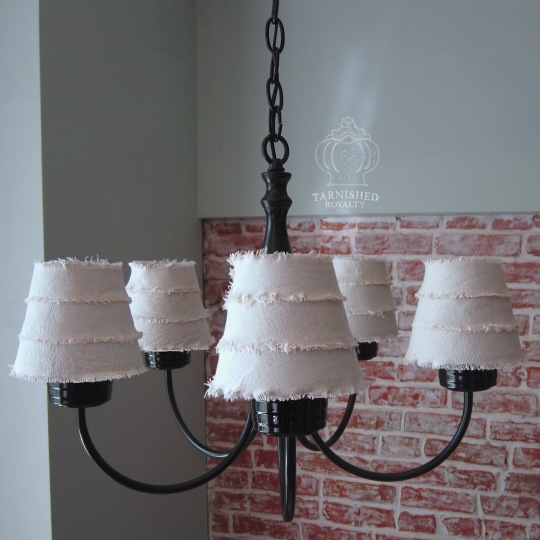
So my flip for this month is DIY Chandelier Lamp Shades.
After my husband spray painted the fixture black I dressed the lamp shades in layers of frayed canvas.
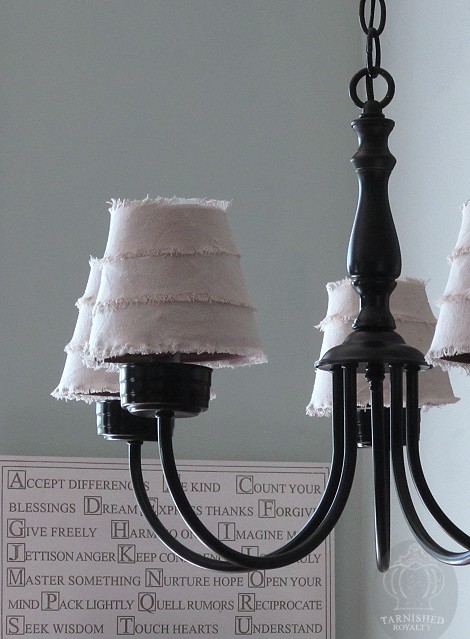
These were really easy to do and I’ll show you how with just a few steps. But first I want to show you the “before” picture of the chandelier.
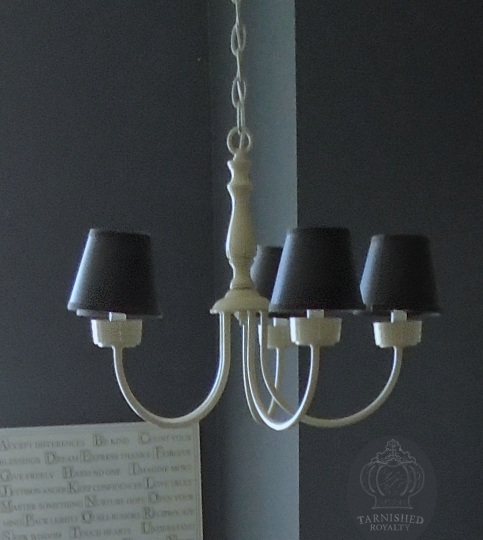
It’s not a very good picture but you can see that the fixture was an ivory color and the shades were black. You can also see the old wall color.
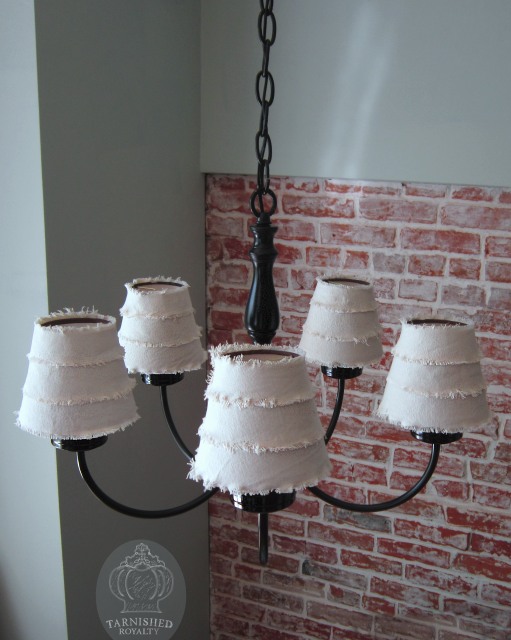
The black fixture gives the space a more grounded feel. The frayed canvas cloth adds softness and texture. I love my new wall color and I can’t wait to show you the entire space when it’s complete. You can catch a glimpse of another finished piece for the nook here.
Now back to the lamp shade tutorial.

Here’s what you’ll need to make your own tiered, frayed canvas lamp shades.

A template for you to adapt for your own use. For standard chandelier type shades the width of the template needs to be 14 inches. I had to print it out on two sheets and tape them together.

Cut out your 2 template parts and tape them together.

Measure out and mark the pattern to be divided into 3 layers. The first mark for the bottom layer will be at 1 5/16 inches, the second mark at 2 5/8 inches.
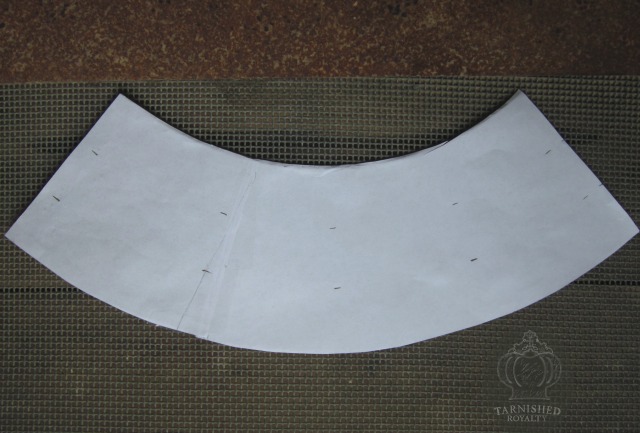
Make the same markings in a few more places across the pattern and pencil in the connecting curves.

Cut out the three pieces. These will be the patterns for your three layers.

Cut out your fabric, leaving an approx. 1/8 inch allowance above and below the pattern.
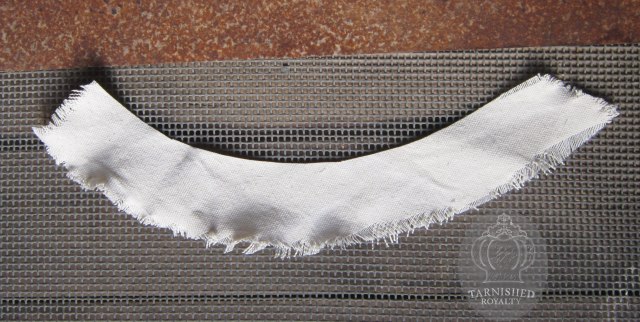
Fray the fabric strips. Note: the bottom and middle layer will only need to be frayed at the bottom edge.
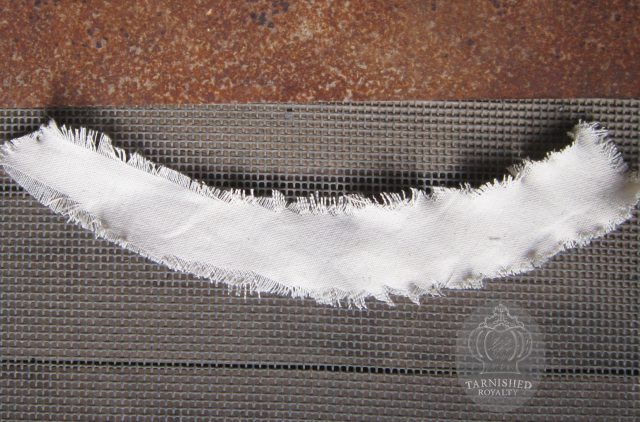
The top layer will need to be frayed at both the top and bottom edges. You can fray the ends too.

Glue the bottom strip to the lamp shade leaving enough fringe to cover the entire bottom rim.

Overlap the middle layer and glue. Glue the top layer making sure to extend it far enough up to cover the top rim of the shade.
This design could also be adapted for full size lamp shades.

So you’ve seen my take but you haven’t seen Heather’s! Be sure to go visit her blog Woods of Bell Trees to see how she interpreted this month’s design.
Thanks for stopping by!

Linking with: Shabby Art Boutique, French Country Cottage

Ann! I absolutely love this and I am going to make this my next project because I need a lampshade for two lamps in my shop. Everything about this look appeals to me. I so appreciate the tutorial and am pinning it on my Pinterest site for Working Ideas. Brilliant, Ann. ~Ginene
Thank you Ginene! It really couldn’t be much easier. Send me pics! :)