Happy Thanksgiving Week and
Welcome to Girls Want Pearls!
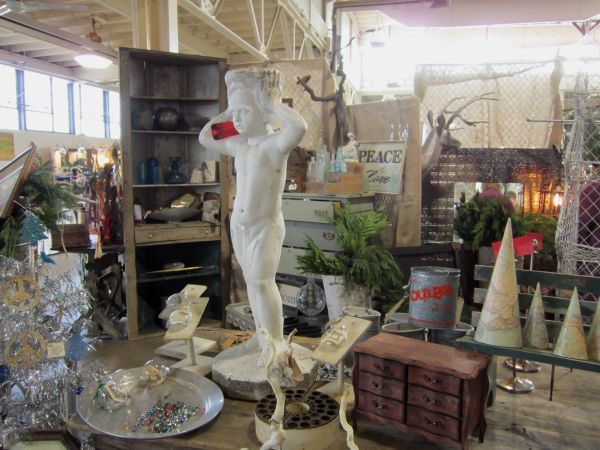
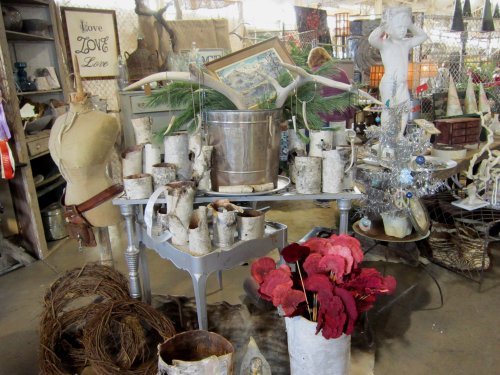
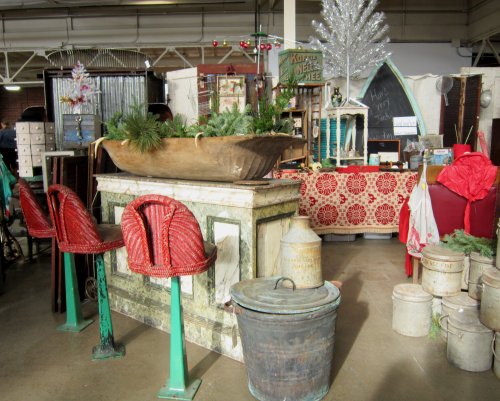
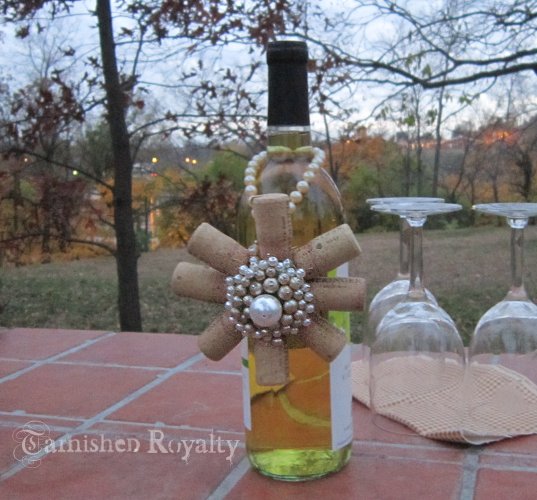
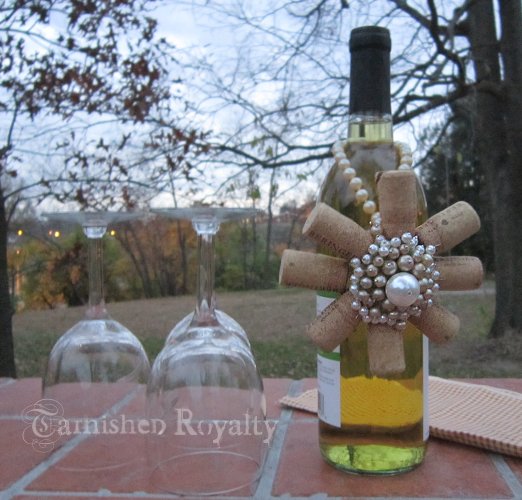
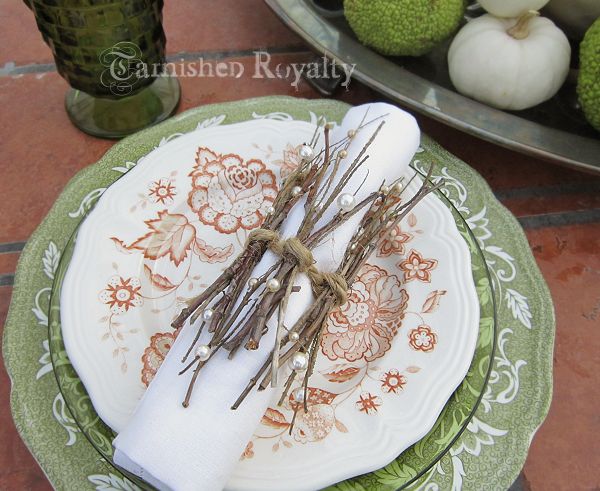
I love to incorporate natural elements into my decor. There’s something romantic about bringing nature indoors. And the fact that it costs nothing is a bonus. With holiday tablescaping upon us, I thought it would be fun to do a pearly twiggy napkin ring.


Very little is needed to make these:
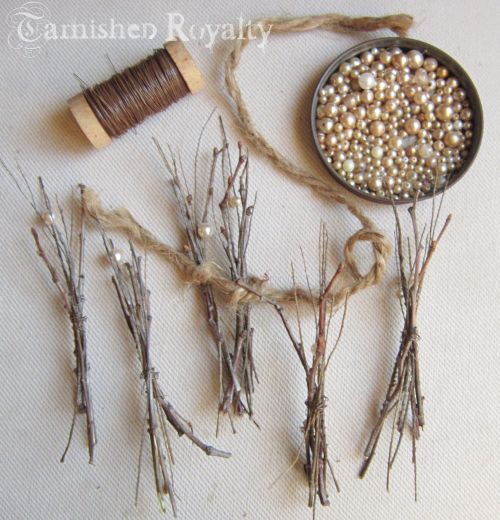
Just gather some twigs and be sure to find some that are super skinny for threading pearls onto. If you can’t find any skinny enough, you can cheat and use brown wire for the ones that have pearls. Make five bundles of twigs and wrap with wire. Tie your twine around each bundle, spacing them approx. 1/2 inch apart. I found it easier to prepare the knots in advance and then slide the bundles in. Form the finished twine around a napkin and tie the ends together. Thread your pearls on and add a dot of glue if needed.

You could mix in some sparkly beads in your color choice for a Christmas table. Add a natural-elements centerpiece, maybe vases full of twigs or a tray of hedge apples, pumpkins or artichokes for a cohesive look. Happy decorating!
Next week’s hint: Eye Candy
Love pearls and don’t want to miss any pearly posts?
You can get a reminder, just fill in your info below and I’ll email you when a post goes live.
.Subscribe Now
First Name Last Name Email Address
Linking with
Savvy Southern Style,The 36th Avenue,Stone Gable Blog,Imparting Grace,No Minimalist Here,Have a Daily Cup of Mrs. Olson,The Scoop,Mod Vintage Life,Between Naps on the Porch, From My Front Porch to Yours, Cozy Little House, Knick of Time, A Stroll Thru Life, Ivy and Elephants, Jennifer Rizzo, Style Elixir, Shabby Art Boutique, Maria Elenas Decor