Who would like to start their brand new week with a history lesson?
Ummmm……….me? Not so much, but if it’s fashion history, count me in!
Ummmm……….me? Not so much, but if it’s fashion history, count me in!
Welcome to Girls Want Pearls!
Every Monday for a year I am posting about pearls, things you can do with them in your wardrobe and decor, how-tos, and interesting tidbits from history and the Bible.
Every Monday for a year I am posting about pearls, things you can do with them in your wardrobe and decor, how-tos, and interesting tidbits from history and the Bible.
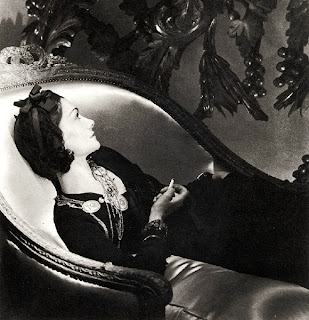
Any study of the history of pearls in fashion will eventually lead to one iconic woman, Coco Chanel. In researching and preparing this post I discovered so many interesting aspects of this woman. I could go on and on and on, but in an effort to keep my readers interested, I will try to focus on that which relates to fashion and pearls.

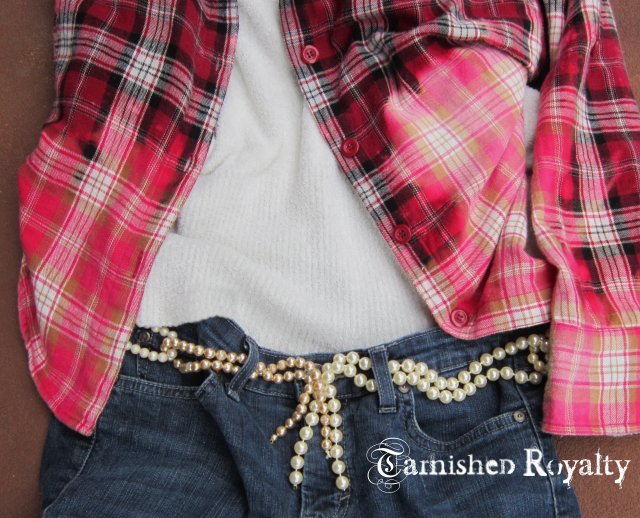
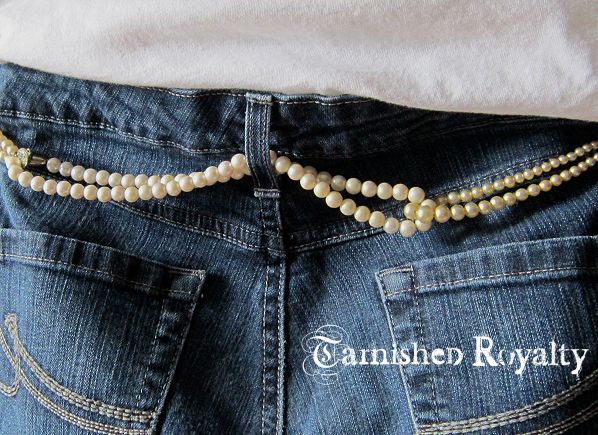
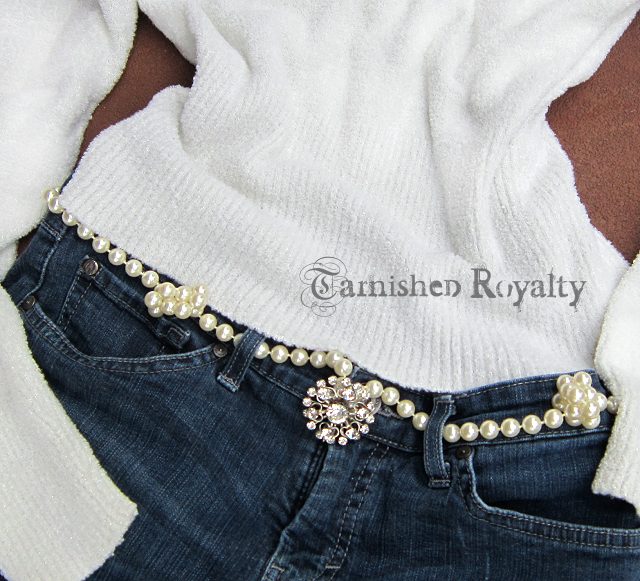
She made costume jewelry appeal to the masses with her own jewelry line. Though she had been given many extravagant, expensive jewels by men friends, she wasn’t a snob. Her layered-on style with piles of pearls became a popular trend.

“It’s disgusting to walk around with millions around the neck because one happens to be rich. I only like fake jewelry … because it’s provocative.” -Coco Chanel
HA! Don’t you love it?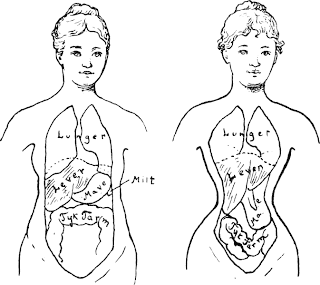
 From her excursions on water with the yachting world, she appropriated the clothing associated with nautical pursuits: the horizontal striped shirt, bell-bottom pants, crewneck sweaters, and espadrille shoes—all traditionally worn by sailors and fishermen.[source]

 And of course, a classic contribution to fashion, the little black dress. The first version was long sleeved, made of thin silk and dubbed by Vogue as the garçonne (little boy look). ………………………………………………………………………………………….. “Fashion is architecture: it is a matter of proportions.”- Coco Chanel
HA! Don’t you love it?
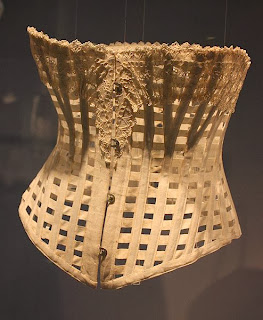
Thankfully, she is thought responsible for looking at the corset, a staple in every fashionable woman’s closet at the time, as something the fashion world could do without.


Yikes! Who’s glad we don’t have to squeeze into one of these?

 From her excursions on water with the yachting world, she appropriated the clothing associated with nautical pursuits: the horizontal striped shirt, bell-bottom pants, crewneck sweaters, and espadrille shoes—all traditionally worn by sailors and fishermen.[source]

 And of course, a classic contribution to fashion, the little black dress. The first version was long sleeved, made of thin silk and dubbed by Vogue as the garçonne (little boy look). ………………………………………………………………………………………….. “Fashion is architecture: it is a matter of proportions.”- Coco Chanel
“The best colour in the whole world is the one that looks good on you.” – Coco Chanel
“Fashion changes, but style endures.” – Coco Chanel
“In order to be irreplaceable, one must always be different.” – Coco Chanel
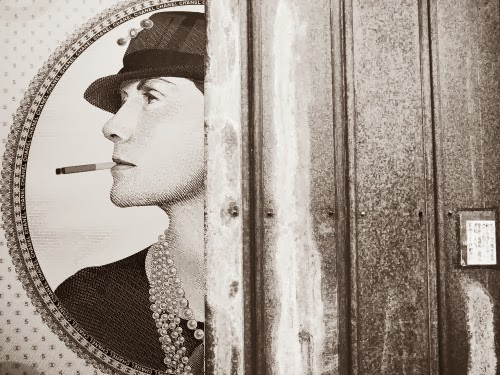
Coco Chanel has been gone for more than 40 years, but her legacy lives on.
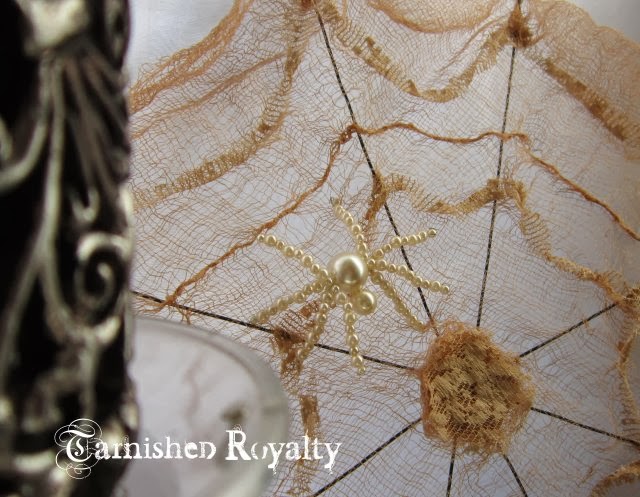
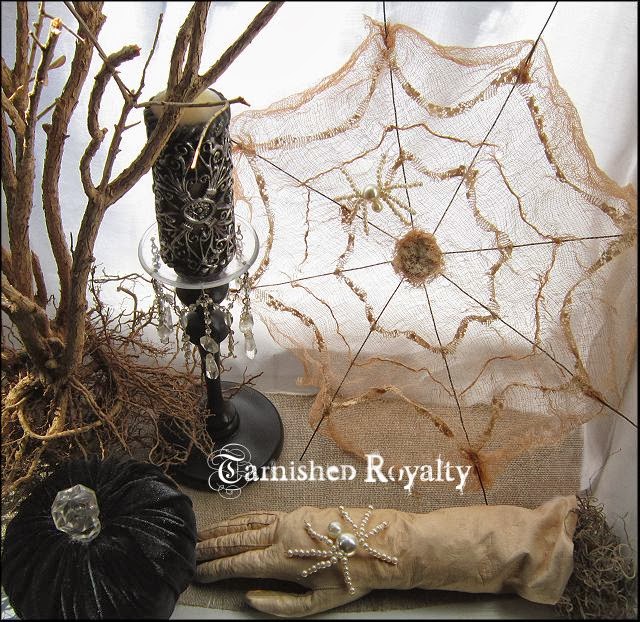
A pearly girl indeed.
Next week’s hint: Walk Softly
Love pearls and don’t want to miss any pearly posts?
You can get a reminder, just fill in your info below and I’ll email you when a post goes live.
.Subscribe Now
First Name Last Name Email Address
Linking with
Common Ground,Savvy Southern Style,The 36th Avenue,Someday Crafts,Stone Gable Blog,Imparting Grace,No Minimalist Here,The Shabby Creek Cottage,Have a Daily Cup of Mrs. Olson,The Scoop,Mod Vintage Life,Between Naps on the Porch,Home Stories A to Z,My Uncommon Slice of Suburbia, From My Front Porch to Yours, Cozy Little House, Elizabeth & Co., Knick of Time, A Stroll Thru Life, Share It One More Time, Ivy and Elephants, Jennifer Rizzo, Style Elixir, Posed Perfection, Shabby Art Boutique, Vintage Gwen, PINcentive Blog Hop